
As an Amazon Associate, I earn from qualifying purchases
Your vacuum sealer may not be vacuuming due to a faulty seal or an obstruction in the vacuum channel. Check for debris or wear on the seal strip for a quick fix.
Vacuum sealers are essential for preserving food and maintaining its freshness, but a malfunction can be frustrating. A common issue users encounter is the machine failing to vacuum out air as expected. This problem can usually be traced back to a couple of simple causes.
Ensuring that the vacuum sealer’s components are clean and intact is the first step in troubleshooting. Regular maintenance and proper operation are key to keeping your vacuum sealer running smoothly. With a keen eye for detail and an understanding of the machine’s mechanics, pinpointing and resolving the issue can be straightforward. By keeping sentences short and informative, this introduction sets the stage for a helpful guide on troubleshooting vacuum sealer problems.

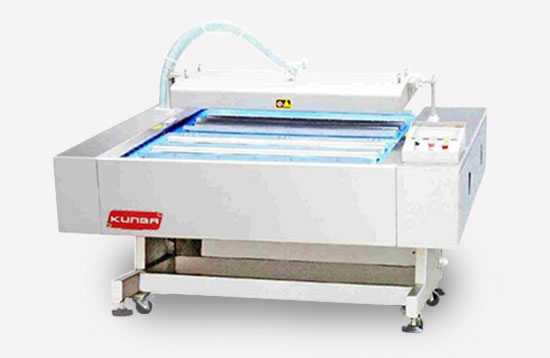
Credit: www.youtube.com
Common Vacuum Sealer Issues
Vacuum sealers are essential for preserving food. But they can stop working. This can be frustrating. Let’s look at some common problems.
Seal Bar Problems
Seal bars create the airtight closure. If your sealer isn’t sealing, check these:
- Wear and Tear: Over time, the seal bar can wear out.
- Residue Build-Up: Food particles can prevent a good seal.
- Improper Heating: If the bar doesn’t heat, it won’t seal.
Make sure the seal bar is clean. Replace it if it’s worn out.
Vacuum Pump Malfunctions
The vacuum pump removes air. If it fails, the bag won’t vacuum properly. Reasons include:
- Obstructions: Food bits can block the air pathway.
- Aging Motor: Motors lose power over time.
- Leakage: Air can escape from loose seals.
Check for blockages. Listen for strange noises. Ensure all connections are tight.
Troubleshooting Power Supply
Encountering a vacuum sealer that fails to vacuum can be frustrating. The issue often lies within the power supply, a critical component for operation. Proper troubleshooting can solve this problem. Let’s explore the steps to ensure your vacuum sealer gets the power it needs.
Checking Electrical Connections
Begin by examining the vacuum sealer’s plug and outlet. Ensure the plug fits snugly into the outlet. Loose connections can interrupt power flow. Use these steps:
- Inspect the outlet: Test it with another device.
- Check the plug: Look for any damage or bent prongs.
- Ensure tight fit: Plugs should not wobble or fall out.
Power Source And Cord Integrity
Next, assess the power source and the integrity of the cord. Damaged cords can prevent proper functioning. Follow this checklist:
- Examine the cord: Search for frays or cuts.
- Test different outlets: Rule out faulty outlets.
- Use surge protectors: They safeguard against power spikes.
For cord issues, contact the manufacturer or a professional. Do not attempt repairs if unsure.
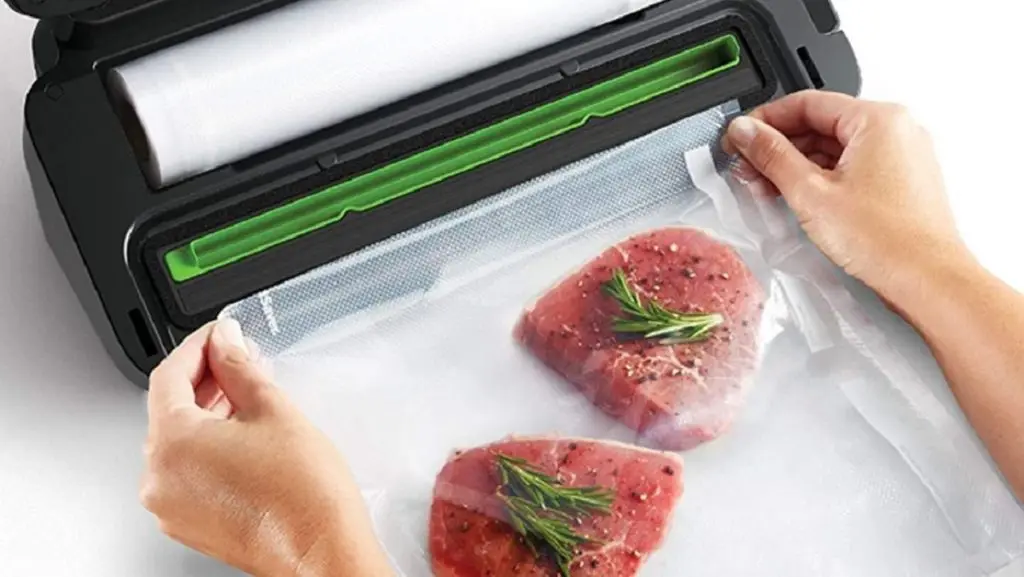
Inspection Of Sealer Bags
When your vacuum sealer fails to work, checking the sealer bags is crucial. This simple step can solve many issues.
Bag Type And Quality
Not all sealer bags are the same. Different brands and types can affect how well your machine works. Ensure you use bags recommended by your sealer’s manufacturer. High-quality bags ensure better sealing and vacuuming performance.
- Thickness matters: Thicker bags generally provide better seals and protection.
- Avoid damage: Check for punctures or wrinkles. They prevent a tight seal.
Proper Bag Placement
Correct placement is key to effective vacuuming. The bag must sit correctly in the vacuum chamber. Misalignment can lead to poor suction.
- Ensure the bag’s open end is fully within the vacuum channel.
- Smooth out the bag to avoid any folds or creases.
For best results, leave some space between the bag’s contents and the seal area.
Maintenance Tips
Keeping your vacuum sealer in top shape is essential for its performance. Regular maintenance ensures your machine functions correctly and lasts longer. Let’s dive into some crucial maintenance tips that could solve why your vacuum sealer isn’t vacuuming.
Regular Cleaning Routines
Clean your vacuum sealer after each use to prevent buildup. Follow these steps:
- Turn off and unplug the machine.
- Remove any debris from the sealing chamber.
- Wipe the sealing gaskets with a soft cloth.
- Clean the vacuum channel with a damp cloth.
- Allow the parts to dry completely before reassembling.
Attention to cleanliness prevents future vacuum issues.
Replacement Of Worn Parts
Over time, parts like gaskets and seal bars wear out. Here’s a quick guide to replace them:
| Part | Signs of Wear | Action |
|---|---|---|
| Gaskets | Cracks or deformities | Replace with new gaskets |
| Seal Bar | Uneven sealing | Check and replace if needed |
Regular check-ups on these parts can save you from bigger issues.
Understanding Pressure And Seals
Understanding Pressure and Seals is vital when troubleshooting your vacuum sealer. These machines rely on creating an airtight environment. When they fail, the issue often lies with pressure or seal integrity.
Pressure Consistency
A consistent vacuum pressure is key for a successful seal. If your vacuum sealer isn’t vacuuming, check the following:
- Machine’s power source: Ensure it’s plugged in properly.
- Vacuum strength setting: Adjust if necessary.
- Air flow: Remove any blockages in the air path.
Test the pressure with a gauge if available. A consistent reading means good pressure.
Seal Integrity Check
A tight seal is crucial. Inspect these elements:
- Gasket condition: Look for wear or debris.
- Sealing bar: It should be clean and unobstructed.
- Bag placement: Align properly within the sealing area.
Perform a smoke test if possible, to detect leaks. Replace any faulty parts immediately.
Credit: www.huaqiaopm.com
Professional Repair Or Replace
Encountering issues with a vacuum sealer can be frustrating. Deciding between professional repair or replacement involves several factors. This section will guide you through when to seek professional help and conduct a cost-benefit analysis to make an informed decision.
When To Seek Professional Help
Identifying the need for professional assistance is crucial in maintaining your vacuum sealer’s efficiency. Here are signs:
- Consistent failure to vacuum even after troubleshooting.
- Unusual noises or smells during operation.
- Error messages that persist.
Experts can diagnose issues beyond basic fixes. They have tools and expertise for complex problems.
Cost-benefit Analysis Of Repair Vs Replacement
Conducting a cost-benefit analysis helps decide between repair and replacement.
| Aspect | Repair | Replacement |
|---|---|---|
| Cost | Generally lower unless issues are severe | Higher initial cost but may offer long-term savings |
| Longevity | May extend life but not guarantee performance | New models come with improved technology |
| Warranty | Existing warranty may cover repairs | New warranty provides future security |
Consider repair costs against the price of a new sealer. Factor in age and frequency of use. A new model may be more cost-effective in the long run.
Credit: www.vevor.com
Frequently Asked Questions
Why Is My Foodsaver Not Suctioning?
Your FoodSaver may not be suctioning due to a full drip tray, improper bag placement, worn gaskets, or a need for unit cleaning. Check seals and ensure the bag is correctly positioned for optimal performance.
Why Is My Geryon Vacuum Sealer Not Vacuuming?
Your Geryon vacuum sealer may not vacuum due to a loose lid, worn gaskets, full drip tray, or a malfunctioning pump. Ensure all parts are secure and clean for proper functioning.
How Do I Get My Vacuum Sealer To Work?
Ensure your vacuum sealer is plugged in and the power is on. Place the open end of the bag in the sealing chamber, close the lid securely, and press the vacuum/seal button. Check for any obstructions if it’s not functioning and consult the manual for troubleshooting tips.
Why Are My Vacuum Seal Bags Not Sealing?
Common reasons your vacuum seal bags aren’t sealing include a dirty sealing strip, excessive bag wrinkles, or a malfunctioning vacuum sealer. Ensure the seal bar is clean and the bag is smooth for optimal performance.
Conclusion
Troubleshooting your vacuum sealer can be a breeze with the right tips. Remember, regular maintenance is key to consistent performance. For any persistent issues, consider professional advice or check the warranty. Keep your sealer clean and operational, and it’ll serve you well for years to come.
Let’s keep the freshness sealed!
As an Amazon Associate, I earn from qualifying purchases