
As an Amazon Associate, I earn from qualifying purchases
Adding topology to a flat face in Blender is essential for detailed modeling. It allows for more control and flexibility in your designs.
In 3D modeling, achieving smooth and realistic surfaces often requires adding topology. Topology, in simple terms, refers to the arrangement of vertices, edges, and faces in a 3D model. When working with a flat face in Blender, adding topology can seem challenging.
But with the right techniques, it becomes manageable. Proper topology ensures your model deforms correctly during animation and looks good under different lighting. Whether you are a beginner or have some experience with Blender, understanding how to add topology can greatly improve your modeling skills. Let’s explore the steps and tips to effectively add topology to a flat face in Blender.
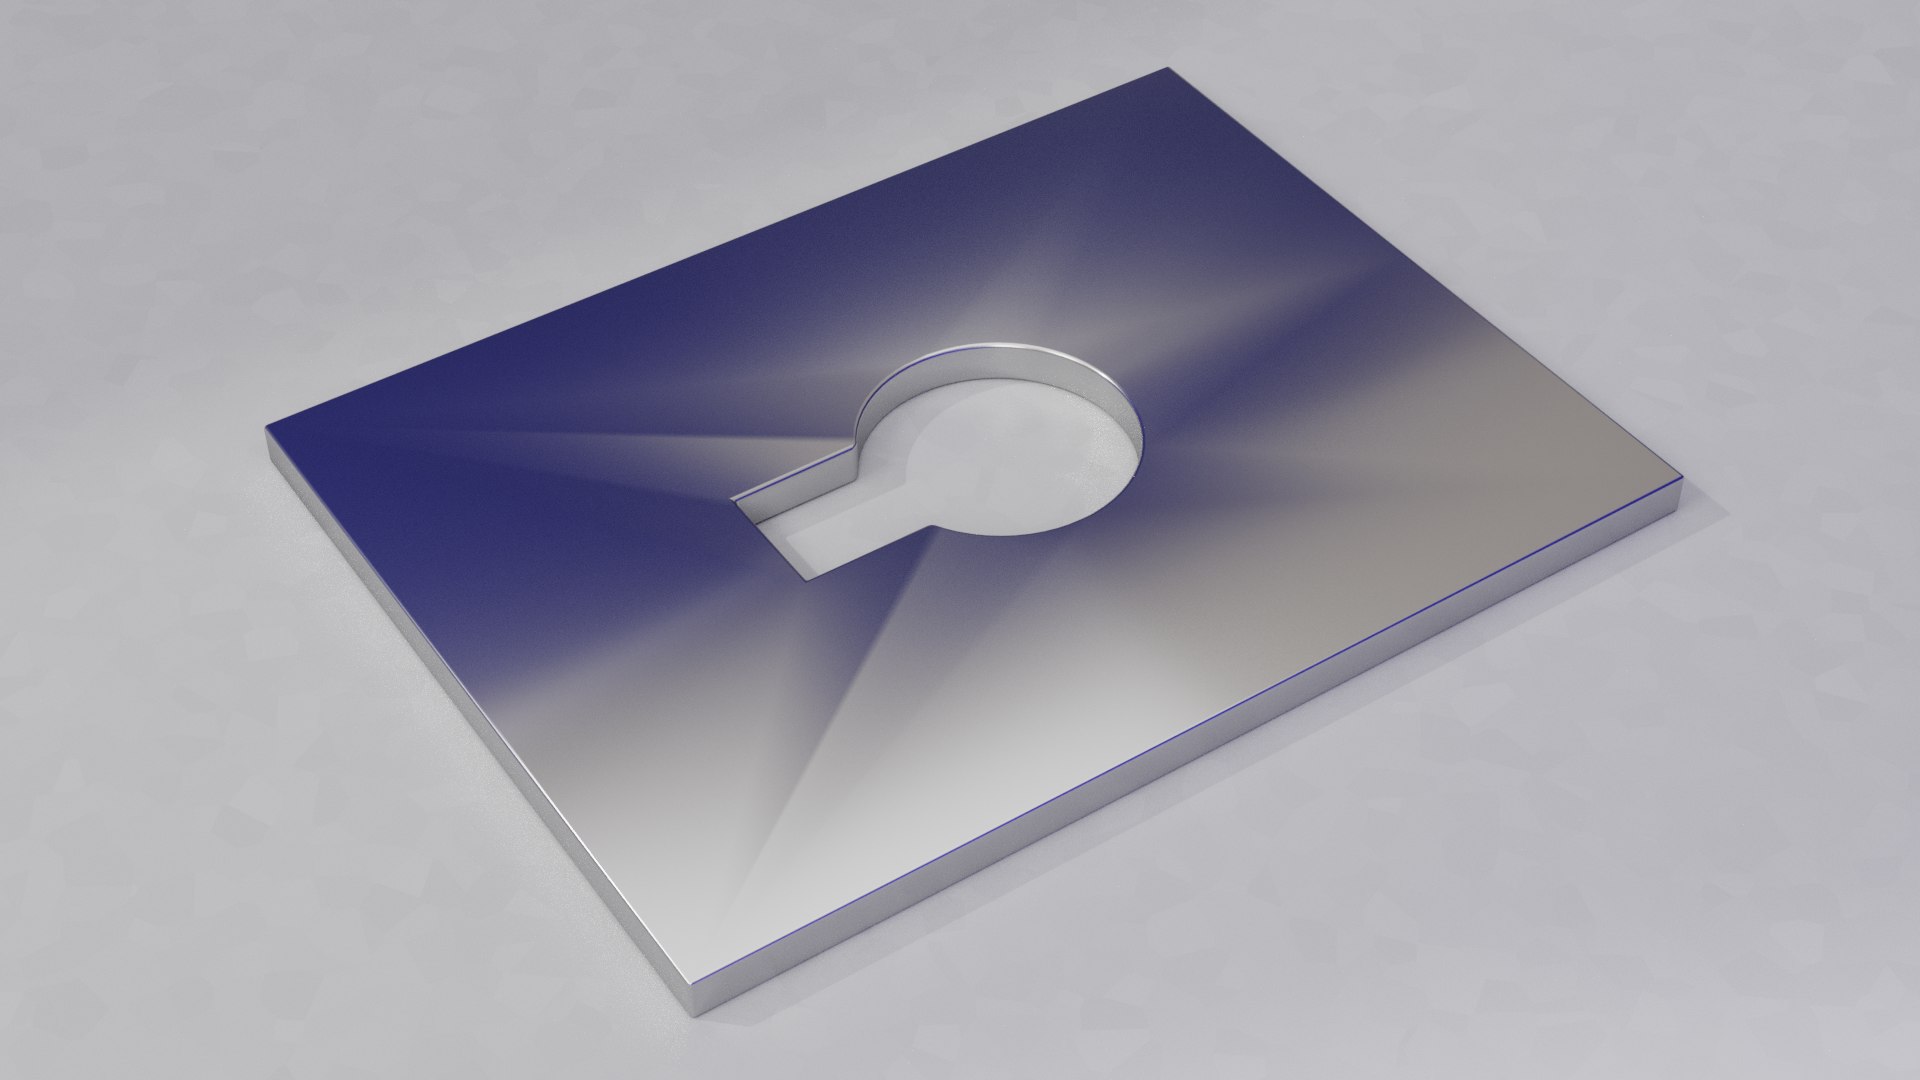
Credit: blenderartists.org
Preparing The Workspace
Before adding topology to a flat face in Blender, you need to set up your workspace. A well-prepared workspace helps you work efficiently. It ensures that you have all the tools you need. Follow these steps to get started.
Setting Up Blender
First, open Blender on your computer. Make sure you have the latest version. This will ensure you have access to the newest features.
Next, customize the layout. Arrange the panels so you can see everything clearly. You should have the 3D Viewport, the Outliner, and the Properties panel visible.
Adjust the theme if necessary. A darker theme can reduce eye strain. Blender allows you to customize colors and fonts. Find a setup that works best for you.
Creating A New Project
Start by creating a new project. Go to the top menu and click on “File”. Select “New” and then click “General”. This will open a blank workspace.
Save your project right away. Go to “File” and click “Save As”. Choose a location and give your project a name. This will help you keep track of your progress.
Now you are ready to add objects. Begin by deleting the default cube. Select it by clicking on it, then press “X” and confirm the deletion.
With your workspace ready, you can now focus on the next steps of adding topology to the flat face. Stay organized and keep saving your work.
Importing The Model
Importing the model is the first step in adding topology to a flat face in Blender. This section will guide you through the initial steps. We will cover loading the flat face model and performing an initial model inspection.
Loading The Flat Face Model
Open Blender and create a new project. Navigate to the “File” menu at the top. Select “Import” to bring up the import options. Choose the file format of your flat face model. Common formats include .obj, .fbx, and .stl. Locate your model file on your computer. Select the file and click “Import”. The flat face model will appear in the Blender workspace.
Initial Model Inspection
After importing the model, inspect it closely. Rotate the model to view it from different angles. Check for any irregularities or issues. Look for gaps, overlaps, or distorted areas. Ensure the flat face is smooth and even. If any issues are found, fix them before proceeding. This will make adding topology easier later.
Understanding Topology Basics
Understanding topology basics is crucial for anyone working with 3D models. Topology refers to the structure of a 3D model’s mesh, consisting of edges, faces, and vertices. Good topology ensures smooth animations and clean, detailed models.
Edges, Faces, And Vertices
Edges, faces, and vertices are the building blocks of a 3D model.
- Edges: These are the lines connecting two vertices. They define the shape of the model.
- Faces: These are flat surfaces enclosed by edges. A face is typically a triangle or a quad.
- Vertices: These are points in 3D space. They are the corners where edges meet.
Common Topology Issues
Several common issues can arise with topology. These can affect the quality of your model.
| Issue | Description |
|---|---|
| N-gons | These are faces with more than four edges. They can cause rendering problems. |
| Non-manifold geometry | This occurs when edges or vertices don’t form a proper surface. It can result in holes or intersecting faces. |
| Poor edge flow | Bad edge flow can make a model difficult to animate. It can lead to unnatural deformations. |
Understanding these basics will help you create better 3D models. Good topology makes your models easier to animate and more visually appealing.
Adding Basic Topology
Adding topology to a flat face in Blender can improve your model. It makes the surface smooth and ready for more details. This guide will show you how to add basic topology using two main methods: the Knife Tool and Creating Edge Loops.
Using The Knife Tool
The Knife Tool helps you cut the mesh. This creates new edges. Follow these steps:
- Select the face you want to edit.
- Press
Kto activate the Knife Tool. - Click to start a cut. Drag the line to the end point.
- Press
Enterto confirm the cut.
Repeat this process to add more cuts. This way, you divide the face into smaller sections. This helps in adding details later.
Creating Edge Loops
Edge loops are loops of edges that follow the contour of your model. They are vital for good topology.
To create edge loops:
- Select the face or edge where you want the loop.
- Press
Ctrl + Rto activate the Edge Loop tool. - Hover over the mesh to see the preview of the loop.
- Click to create the loop. Move it to adjust its position.
- Click again to place the loop.
Using edge loops helps in controlling the flow of your mesh. It makes the model easier to animate and texture.
Both the Knife Tool and Edge Loops are essential for adding basic topology. They help you create a clean and detailed model. Practice using these tools to get better results in your Blender projects.
Refining The Topology
Refining the topology of a flat face in Blender is essential. It ensures smooth and realistic 3D models. With refined topology, your models look more detailed. It also helps in animation and deformation. This section will guide you through two crucial methods: subdividing faces and using the bevel tool.
Subdividing Faces
Subdividing faces adds detail to your flat surfaces. Start by selecting the face you want to subdivide. Press the ‘W’ key and choose ‘Subdivide’. This will create new vertices and edges. Adjust the number of cuts in the ‘Subdivide’ options. More cuts mean more detail. But, be careful. Too many cuts can make your model heavy and slow.
Subdividing is useful for adding detail. It helps in areas where you need more control. For example, around the eyes or mouth of a character. Always check the result after subdividing. Ensure the new topology flows well with the rest of the model.
Using The Bevel Tool
The bevel tool is another way to refine topology. It creates a chamfered or rounded edge. Select the edges you want to bevel. Press ‘Ctrl+B’ to activate the bevel tool. Move the mouse to adjust the bevel width. You can also scroll the mouse wheel to add segments. More segments create a smoother bevel.
Beveling is great for hard surface models. It adds a more realistic look to edges. For example, the edges of a table or a building. Beveling also helps in preventing sharp edges. Sharp edges can cause problems in rendering and animation. Always check the bevel results. Make sure it fits the overall design of your model.
Checking For Errors
After adding topology to a flat face in Blender, it’s important to check for errors. Errors can affect the final result of your 3D model. They may cause problems during rendering or animation. Let’s explore how to identify and fix common topology issues.
Identifying Non-manifold Edges
Non-manifold edges are common errors in 3D modeling. These edges can cause issues during 3D printing or rendering. To identify them in Blender, go to Edit Mode. Then, select the Mesh menu. Click on Cleanup and then on Select Non-Manifold. Blender will highlight the problematic edges.
Fixing Common Topology Problems
Once you identify non-manifold edges, you need to fix them. In Edit Mode, select the problem edges. Use the Merge by Distance tool to remove duplicate vertices. This tool will merge vertices that are close together, cleaning up your topology.
Another common issue is flipped normals. Normals determine the direction a face is pointing. To fix them, select the faces and go to the Mesh menu. Then, choose Normals and click on Recalculate Outside.
Sometimes, you may find isolated vertices. These are vertices not connected to any edge or face. To remove them, select all vertices and use the Delete tool. Choose the option to remove only the isolated vertices.
Finalizing The Model
After adding topology to a flat face in Blender, the final steps are crucial for a polished result. This stage ensures your model is clean, optimized, and ready for use.
Applying Modifiers
Modifiers help in shaping and refining your model. They can simplify complex tasks. Here’s how to apply them:
- In the Modifier Properties panel, click the Apply button.
- Ensure you apply modifiers like Subdivision Surface or Mirror.
- Check your model after applying each modifier.
Applying modifiers makes the changes permanent. This step ensures the final shape of the model is preserved.
Exporting The Model
Once you are satisfied with the model, exporting is the next step. This makes your model usable in other software or projects. Follow these steps:
- Go to File > Export.
- Select the desired format, such as FBX or OBJ.
- In the export options, check settings like Scale and Selection Only.
- Click Export.
Exporting in the correct format is vital. It ensures compatibility with other applications. Always double-check your export settings for the best results.
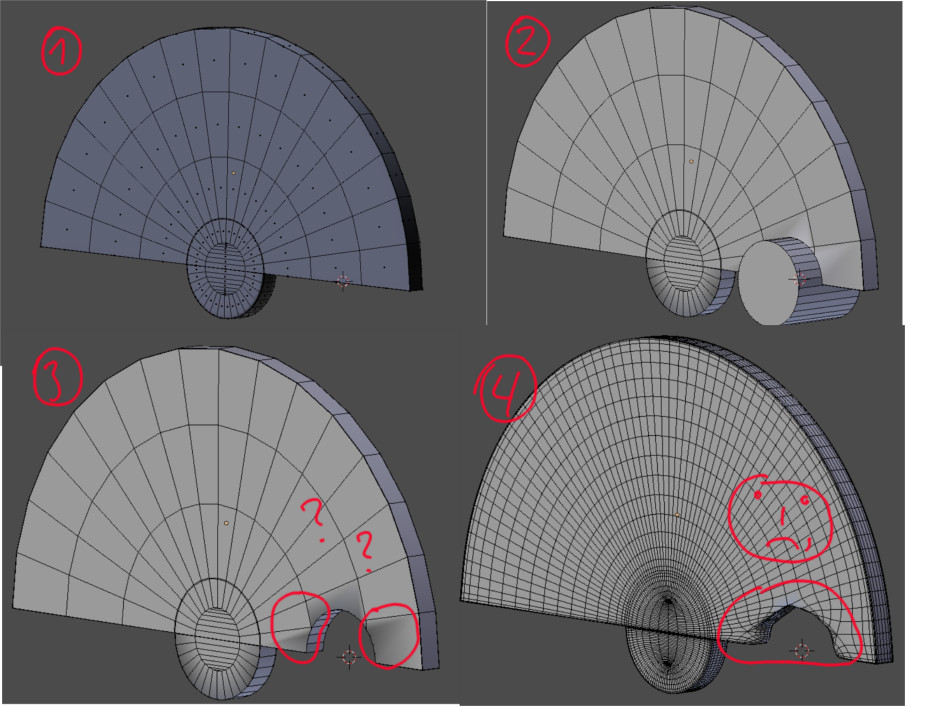
Credit: blenderartists.org
Frequently Asked Questions
What Is Topology In Blender?
Topology refers to the arrangement of vertices, edges, and faces in 3D models. Good topology ensures smooth and efficient animations.
Why Add Topology To A Flat Face?
Adding topology to a flat face improves detail, deformation, and overall quality. It helps in smooth animation and realistic rendering.
How Do You Add Topology In Blender?
Use tools like Knife, Subdivide, and Loop Cut in Blender. These tools help create additional vertices and edges.
What Is The Knife Tool In Blender?
The Knife tool allows you to manually draw edges on a mesh. It helps in adding precise topology.
Conclusion
Mastering topology in Blender enhances your 3D modeling skills. Practice regularly. Use loops and quads for cleaner meshes. Avoid tris and n-gons whenever possible. Remember, patience and precision are key. Check tutorials and forums for tips. Experiment with different techniques.
Find what works best for you. Start simple, then move to complex models. Keep refining your approach. Soon, your flat faces will transform beautifully. Happy modeling!
As an Amazon Associate, I earn from qualifying purchases